DNS Registration Tutorial
Overview
The situation is sometimes simple enough — you simply use your web hosting provider’s nameservers when setting your domain’s settings at the domain registrar, and once the information propagates, your hosting works perfectly, with your site accessible via your domain.However, there are some situations where the situation is not so simple — for example, what happens if you need or wish to use your own domain name for your DNS Server entries (a common enough requirement, if you are running your own domain name server, with bind, for example). In these situations, you will need to do one additional step from your domain registrar account: register your domain’s DNS servers.
It is recommended that you have a copy of your Net Logistics Welcome Mail in hardcopy, or easily accessible, as you will require information from that e-mail in the steps below.
Step 1: Locating Your Domain Registrar’s DNS Registration
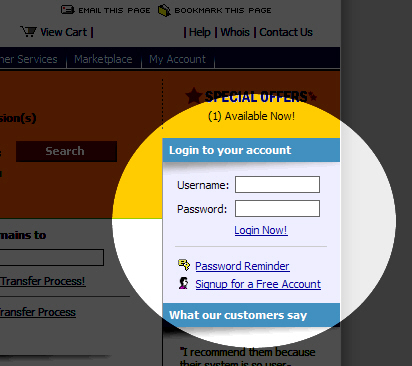
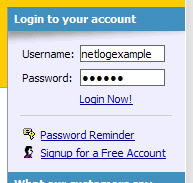
As silly as it may seem, actually finding the interface in which to input the necessary data is often the most challenging aspect of the entire process! What you are looking for is not the standard DNS settings — but rather something a bit different — a system that allows you to assign IP addresses to dns1.yourdomain.com.au, dns2.yourdomain.com.au, (and sometimes additional ones, such as dns3, 4, etc.) Making matters all the worse is that registrars usually don’t have a single name for the option. Some call it Domain Hosts, others call it Hostnames, others call it Nameservers, and other call it Child Nameservers. And, in the example below, based off of a popular domain registrar, the option is called "Nameserver Registration" (sorted under an "Advanced Options" heading). In any event, the steps to configure these settings are as follows:1.) Log into your domain registrar account as you normally would. In the case below, we simply need a username and password, however some registrars can require a "domain key" in addition (so be sure to have that handy if you need it!)
2.) You will want to locate the domain in question. Here we see the example user has five domains in their account. We click on the view option.

ˆ 3.) We will want to modify the settings for the domain "blogclog.com". We do so by clicking on its name:

Click Here for Larger Image
4.) We will forgive the registrar for not making the option too obvious! In this case, it is Nameserver Registration, located in the left bar, under Advanced Options.

5.) Clicking on this option will present you with a screen similar to that depicted below. Please note that, in most cases, this will be distinguished from the general DNS setup configuration screen(s) by the fact that the nameserver hostnames being configured will be preloaded with your domain – in this case, blogclog.com.

Click Here for Larger Image
Step 2: Assigning the IP Addresses
You will now wish to reference your welcome mail and DNS configuration, to determine what IP addresses you wish to use for your domain name servers. If you are unsure as to what IP addresses to use, please contact Support. In the example below, we will insert 123.45.67.89 and 98.76.54.32 as the IP addresses: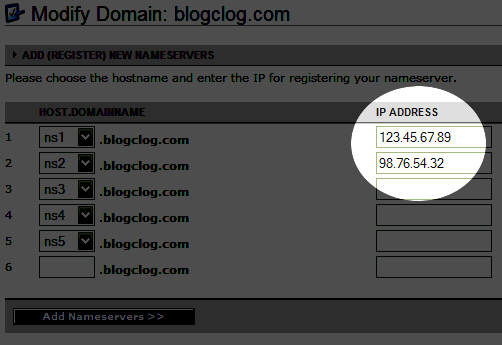
Click Here for Larger Image
Then we only need to click on Add Nameservers, for the change to take effect.